")
Ultimate Lightroom Presets Guide (from Beginner to Expert Photographers)

Hey guys, if you’ve landed here, you’re likely a photography lover like myself – so you’re in the right place!
I’ve worked hard to put together this guide to all things Adobe Lightroom presets. From beginner to expert, there’s something in my guide for everyone. So whether you’re a mama wanting to have the perfect photos of your fam, an aspiring content creator looking to improve your social, or a hobbiest or professional photographer looking to take your work up a notch (food, fashion, lifestyle, wedding… whatever your passion is!) then this how-to tutorial is for you!
TABLE OF CONTENTS
- WHAT IS ADOBE LIGHTROOM? (mobile, desktop cc, and desktop classic)
- WHAT ARE LIGHTROOM PRESETS?
- HOW TO INSTALL LIGHTROOM MOBILE PRESETS ON YOUR PHONE
- HOW TO INSTALL LIGHTROOM PRESETS ON DESKTOP CREATIVE CLOUD
- HOW TO INSTALL LIGHTROOM PRESETS ON DESKTOP CLASSIC
- HOW TO APPLY A PRESET IN LIGHTROOM & EDIT IN LIGHTROOM CLASSIC
Before we get too ahead of ourselves, let me explain what Adobe Lightroom even is…
What is Adobe Lightroom and why should I use it?
Lightroom is a core program in the Adobe Creative Cloud suite. It is designed for photographers, both amateur and professional, to be able to quickly sort and edit a large number of photos in a short period of time. You can apply settings in bulk to entire folders of photos, which saves time and effort for photographers. Along with editing your photos, Lightroom is full of functionality for importing your raw images, sorting and culling, staying organized by the session, resizing, and exporting. It’s a powerhouse that will keep your workflow orgainzed and efficiant!
Prior to Lightroom’s release, most photographers painstakingly used programs like Photoshop to batch edit their photos. It’s funny to think back to when I started out in photography in 2010, I’d painstakingly use Actions in Photoshop to edit hundreds of individual photos. It took me hours to achieve the same result Lightroom is able to deliver in mere minutes.
Now that we have an understanding of what Lightroom is, let’s dive into which version is right for you. There are several versions of Lightroom and depending on your skill level and your desired outcome, I’ll explain which version I think is likely the best for you…

1. Adobe Lightroom Mobile Creative Cloud (CC)
Let’s start with the easiest and simplest to use: Lightroom Mobile CC. It’s a FREE mobile app available on iOS and Android, and is perfect for the amateur photographer who just wants to have clean, aesthetic photos for use on social or for sharing with friends + fam. It certainly isn’t as powerful as the full desktop version, but it is great for quickly editing and applying presets (which will get to in a bit).
The added bonus of Lightroom Mobile CC is that you can seamlessly and instantly share photos between the mobile app and Lightroom Desktop Creative Cloud without losing photo quality, but more on that later. (*must have the Adobe Creative Cloud Suite Subscription to have this feature!)
Another way I use LR Mobile when it’s not for my iPhone photos, is for professional use on the go. When shooting on my Canon R6, what I REALLY love about LR Mobile is that it makes editing sneak peeks while on the go between and during photo shoots quick and easy!
I love this feature for during long weddings days – I can use my cameras wifi feature to send a favourite image to my iPhone, open it it Lightroom Mobile, and edit a fully RAW image with my desktop presets without sacrificing image quality! Being able to post in real time without my computer is a game changer! However I don’t recommend this for editing entire photoshoots!
Who should use Lightroom Mobile CC?
Anyone who wants to make quick edits on their phone to make their photos look flawless and IG worthy.
Skill Level required: Beginner
2. Adobe Lightroom Desktop Creative Cloud (CC)
Lightroom Desktop CC is a cloud-based application that is part of the Adobe Creative Cloud suite. It is essentially a desktop version of the mobile app with a cloud based platform for syncing between devices. It is generally pared down when compared to the Classic version (more on that below). It lacks some of the defining features that the Classic version has, but it makes up for it with the cloud functionality. My personal opinion!
As mentioned above, the great thing about the Mobile and Desktop CC versions is that you can create and share photos between the two applications seamlessly because it is a cloud based program! You probably know how difficult it can be to get photos from your phone to computer, let alone without losing image quality.
A monthly Creative Cloud subscription is required for the desktop version, which grants you access to the entire Adobe suite. A subscription is $12.99 CAD so I’d recommend this option for those who are more serious about photography and may want the added functionality.
Who should use Lightroom Desktop CC?
Photographers of all levels as well as aspiring content creators and influencers who are more serious about their craft but don’t need the full power of Lightroom Classic.
Skill Level required: Intermediate

3. Adobe Lightroom Desktop Classic
Adobe Lightroom Classic is the most powerful of the three options. It has all the bells and whistles, designed to help serious photographers edit photos with speed and efficiency. It’s easy to learn and understand all the basic features. It has easy settings and sliders to adjust like exposure, white balance, hue, saturation, and luminance (HSL). It also includes tools like curves, levels, and masking. The color toning sliders and wheels make adjusting your tones quick an easy. The best part about it is that it provides an easy way to organize your photo library.
I personally use Lightroom Desktop Classic for all my editing and it’s an amazing program. It’s also part of the Creative Cloud suite so you’ll need a Creative Cloud subscription to download it.
I find it’s much easier to sort photos and I find the workflow much more efficient than the Creative Cloud version, although that is my own personal preference! Either version is great for making your photos look their absolute best.
Who should use Lightroom Desktop Classic?
I recommend investing in Lightroom Desktop Classic (which is included with a Creative Cloud subscription) if you’re considering purchasing desktop presets for your photography business, fashion blog, or whatever else you’re planning to use them for.
Skill Level required: Beginner to Advanced

Okay, so now that we’ve established what Lightroom is and which program is best for you, let’s dive into the purpose of this blog post: using Lightroom presets to take your photo game to the next level!
Let’s dive in, shall we?
What are Lightroom presets and why should I use them?
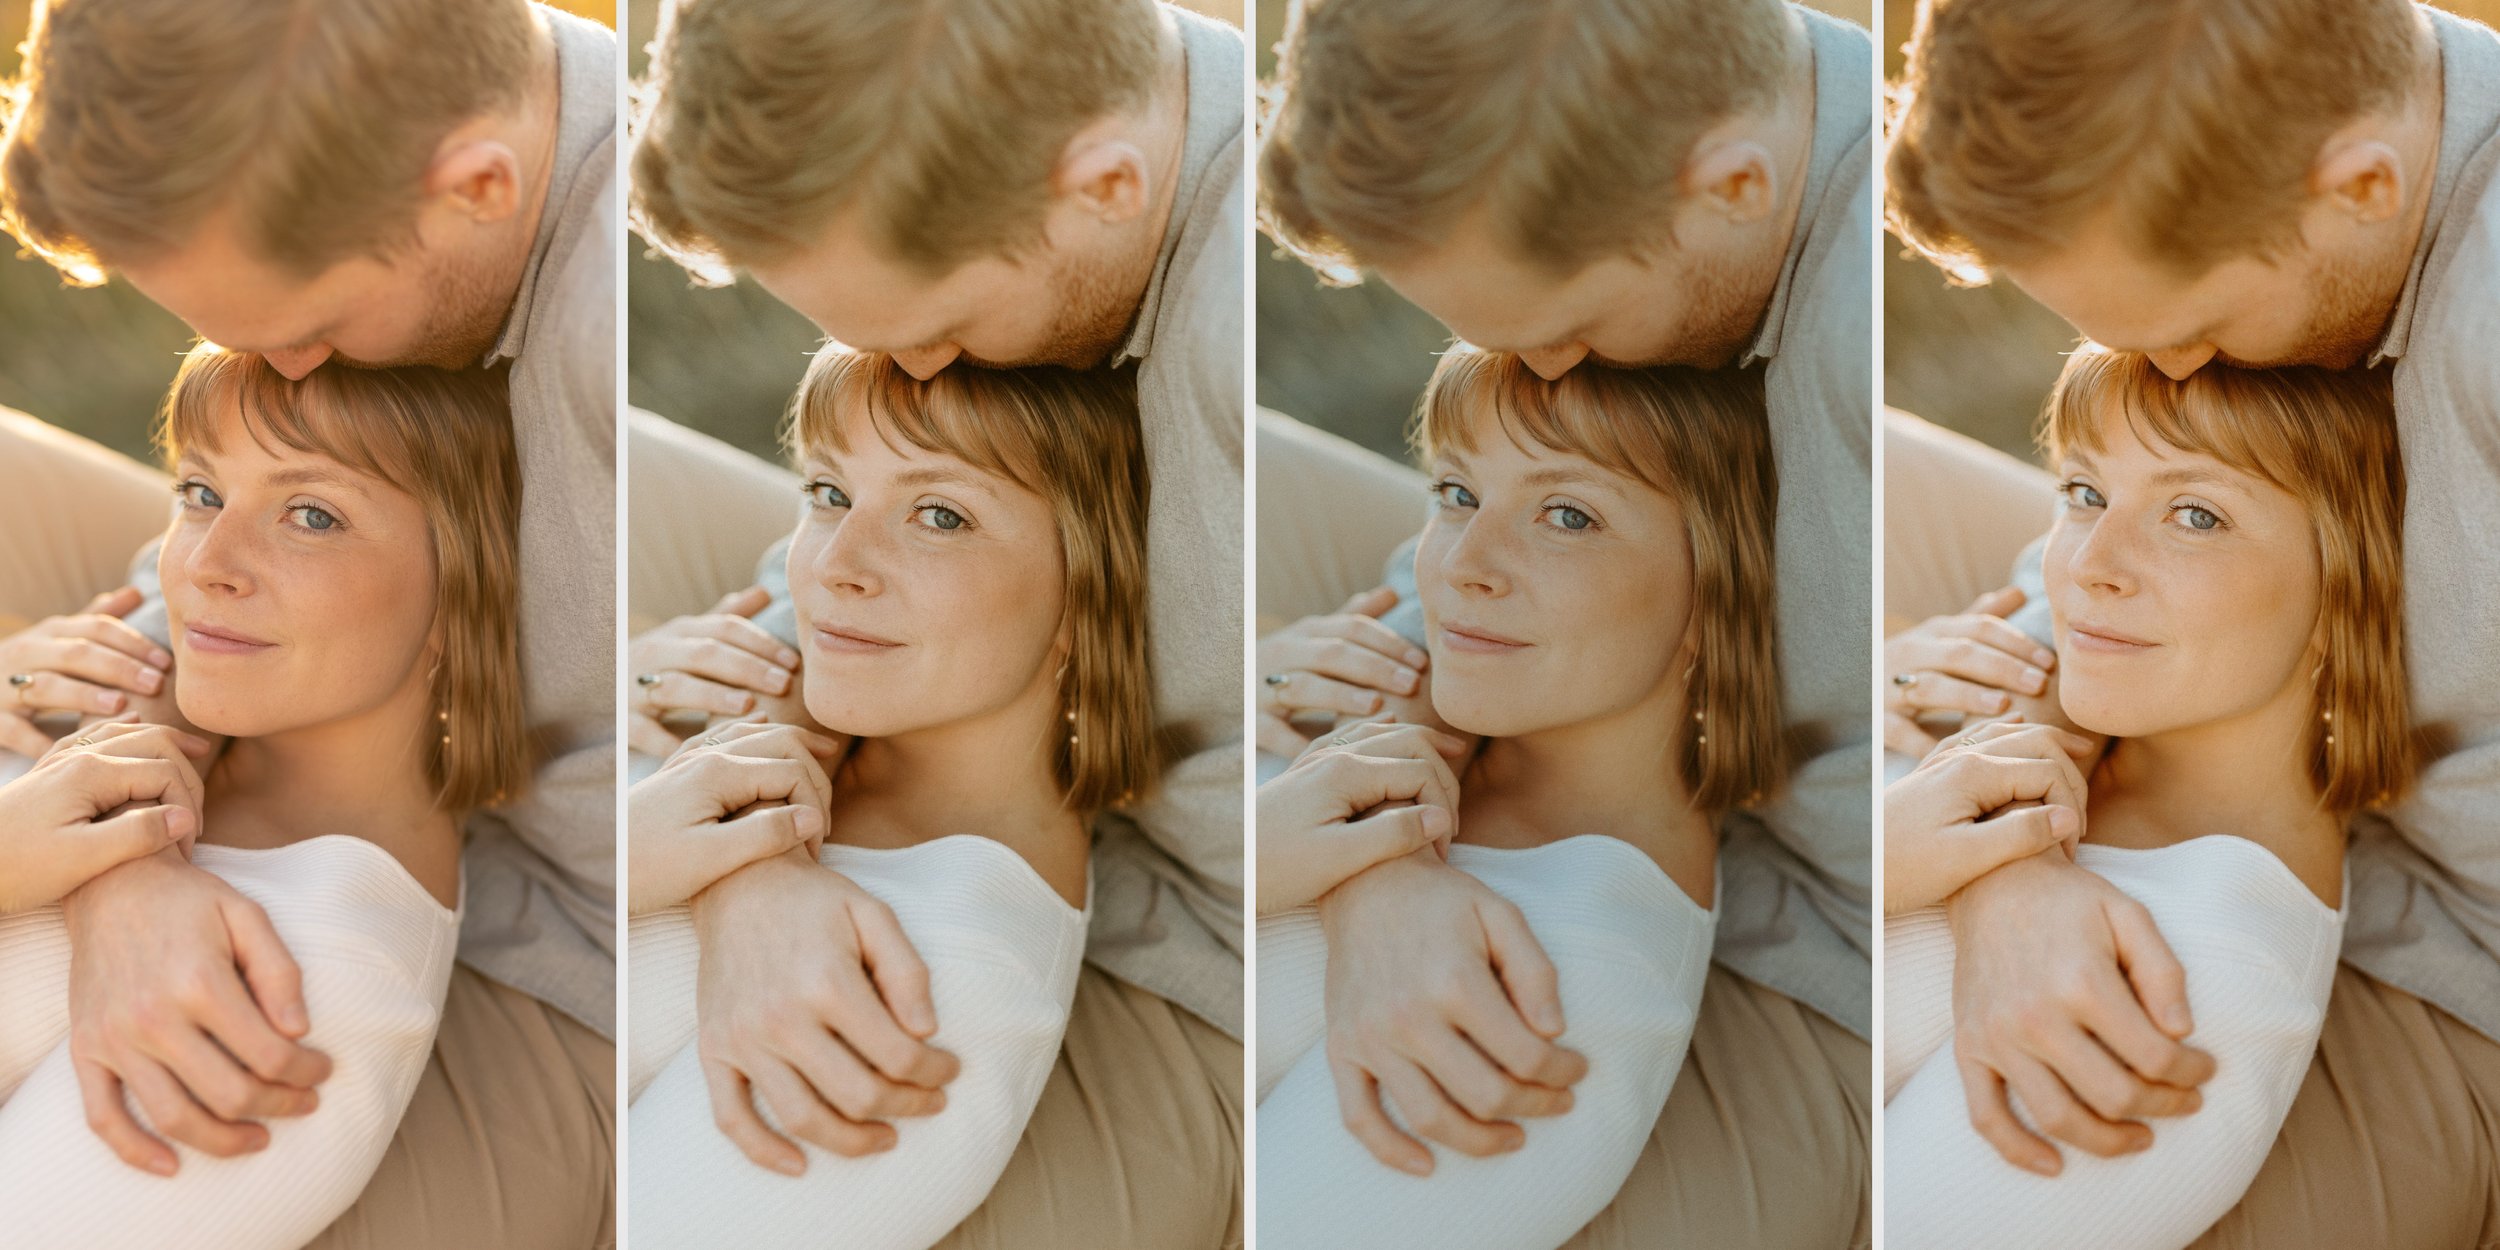
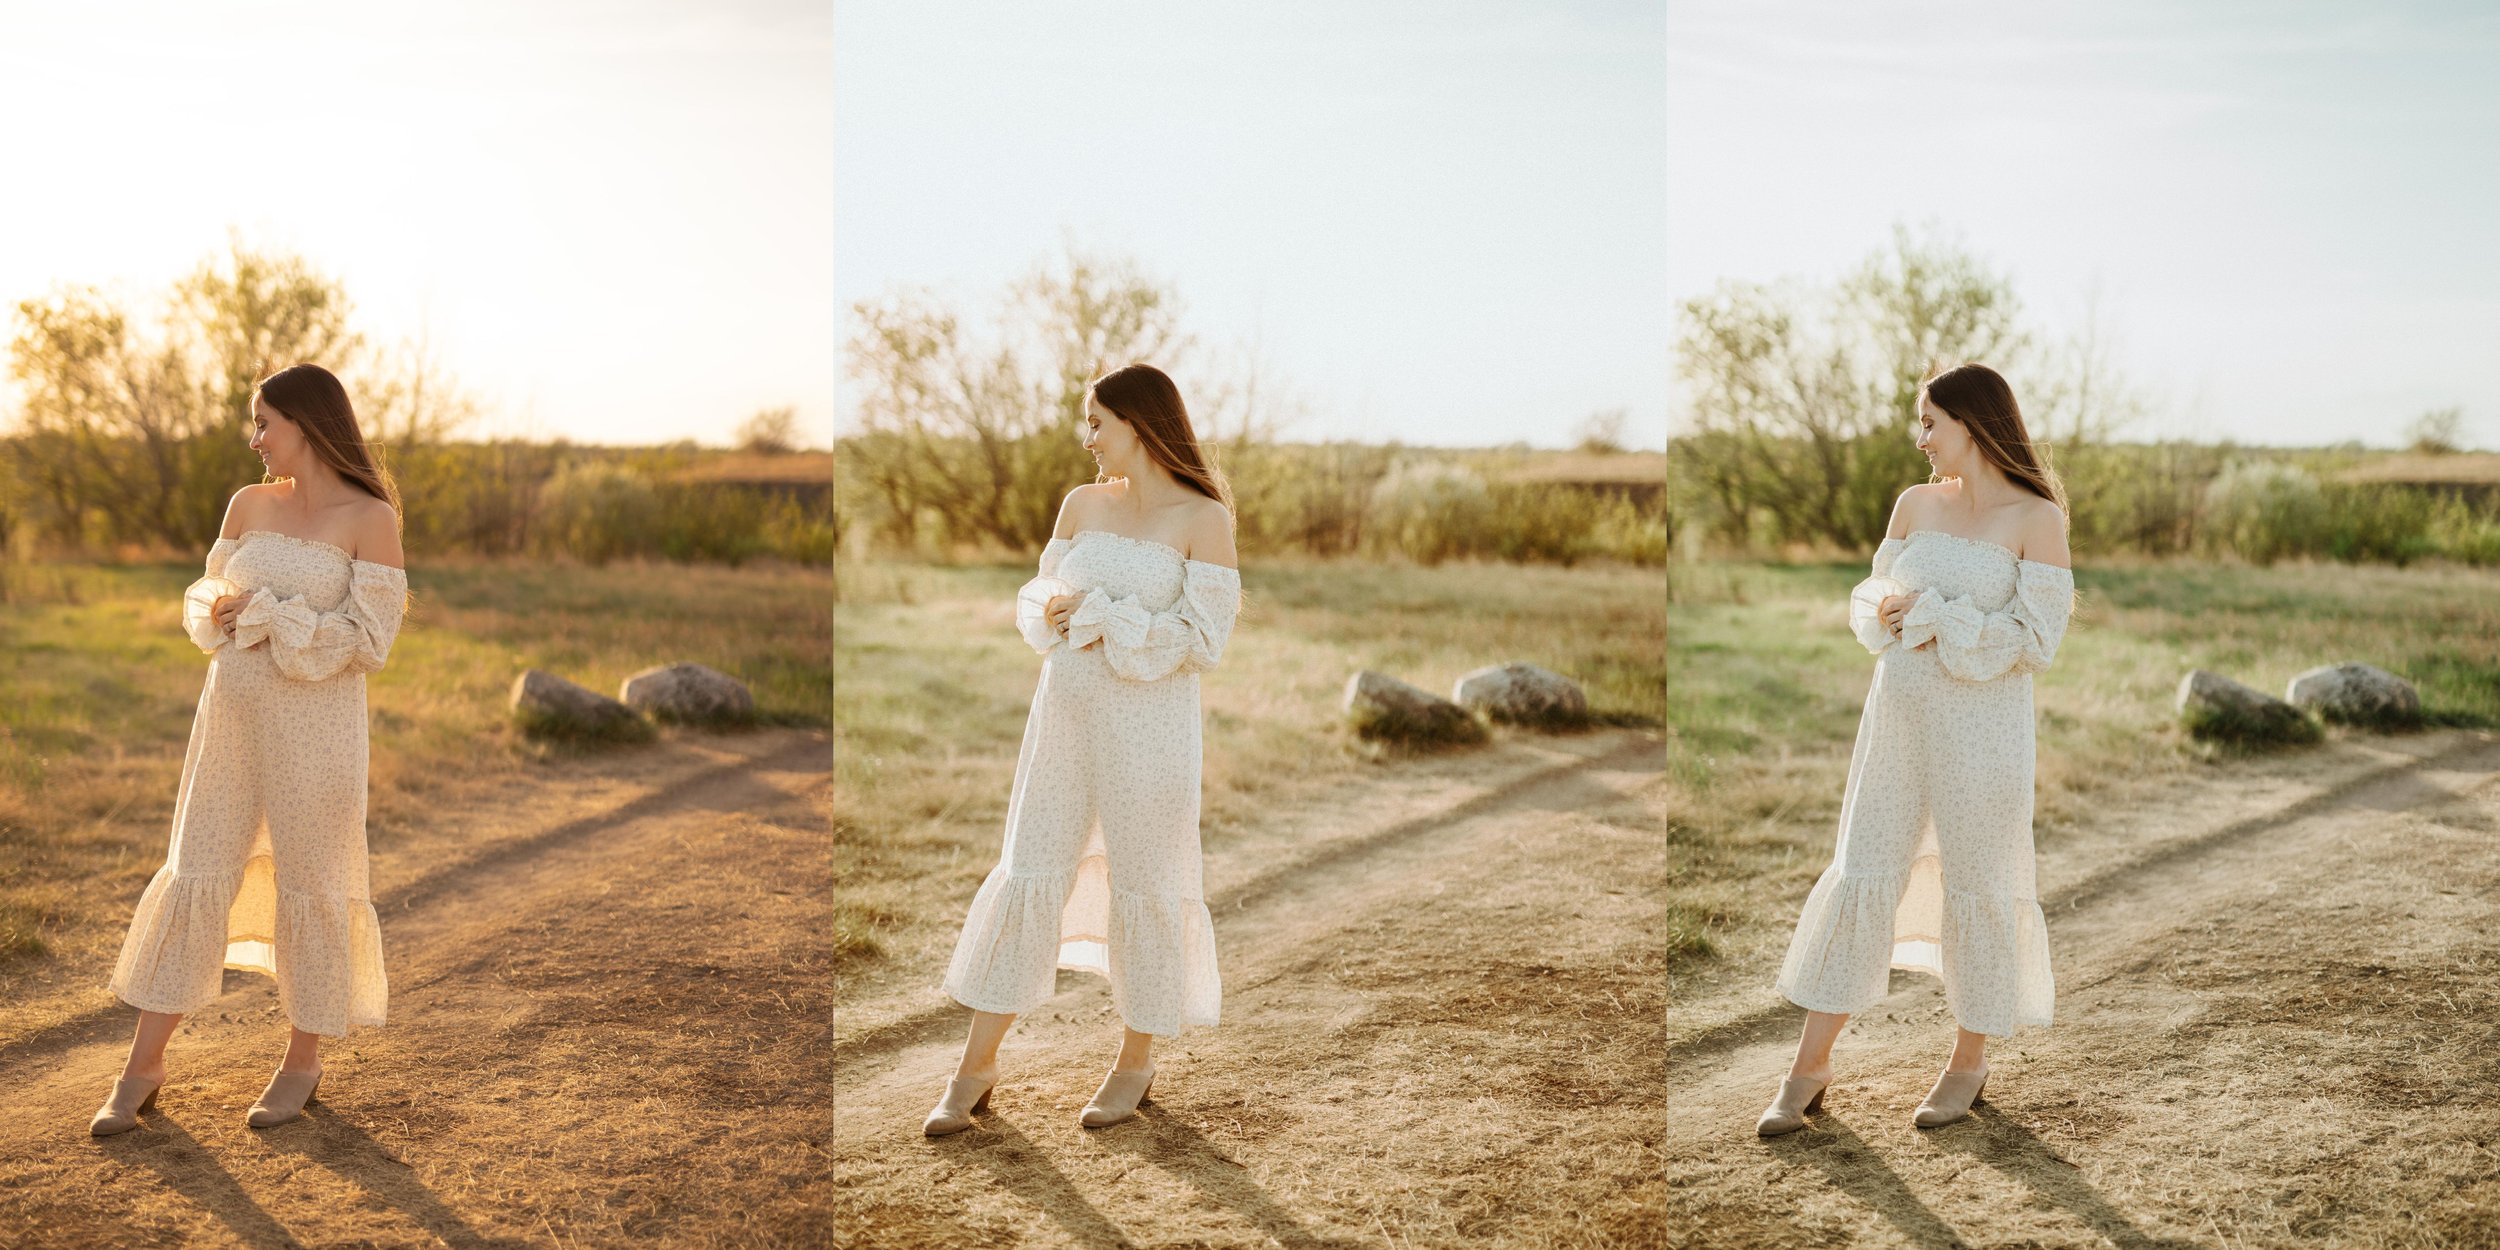
Adobe Lightroom presets are a group of settings designed apply a specific effect on images. Presets allow you to apply a “filter” to your images without having to manually edit each image one by one with every adjustment sliders and settings in Lightroom. Think of it as a way to quickly apply pre-defined (or “pre-set”) settings to make your images look and feel a certain way. Once you apply a desired style of preset to your image, you will likely still need to make minor adjustments to perfect the edit – this may be a slight adjustment to your exposure, temperature, or shadows and highlights.
There are many different types of presets, so be sure to check that they match your desired style and aesthetic before investing your hard earned money in a pack.
Long story short, presets make it easy for virtually anyone to edit photos and make them look amazing. Don’t get me wrong, taking good quality photos is extremely important, but presets have made it much easier to get a stunning finished product than ever before.
So, whether you’re shooting on an iPhone or you’ve invested in an expensive DSLR, the right preset will make your photos look ah-mazing! If this is your first foray into learning about presets, you may some questions about how to install them and how they even work.
Let’s address the former and then the latter…
The instructions below will guide through Lightroom presets installation for Lightroom Mobile (version 7 circa 2022) Creative Cloud 4, 5, 6 and Lightroom Classic (version 9, 10 or 11), which use the .lrtemplate files instead of newer .xmp files.
How do I install presets on Lightroom Mobile?
Once you’ve purchased the desired preset pack, you’ll receive a zip folder with images in DNG file format inside. Each preset will be applied to a DNG image.
Simply follow these 4 easy steps to save the presets in Lightroom Mobile:
Once you’ve unzipped your presets, follow these steps
4 easy steps to installing Lightroom mobile presets
-
Open Lightroom Mobile on your phone
-
Import the DNG file from your camera roll into Lightroom Mobile and find the images. They are a DNG file so will typically appear as a blank white or black image until they are imported into your Lightroom Mobile photos library.
-
Click the first DNG, go to the Presets tab on the bottom menu bar. Click the 3 dots in the top right corner and select “Create Preset”. From there you’ll be able to create a folder for the preset collection, and name each individual preset. Each file will be prenamed, so you can easily give each a name!
-
Click save, and you’re ready to edit!
PRO TIP #1: Purchase and download mobile presets to a computer for the ease of unzipping the files. Once you unzip the files, you can email or text the DNG image/preset files to your phone, save to camera roll, and then import into Lightroom Mobile CC.
Alternatively, if you purchase and download on your mobile phone, you’ll need to still unzip the files. There is an app called Unzip (iOS) or WinZip (Google Play) that you can download from the App Store and use to unzip right on your phone.
How do I install presets on Lightroom Desktop Creative Cloud?
As mentioned at the top of the article, Lightroom Creative Cloud (CC) is similar to the mobile app and actually syncs your photos between the two. Once you’ve settled on the right presets for your style and photo aesthetic, here are the steps to installing them on Lightroom CC:
-
Open Lightroom Desktop CC
-
Go to: Edit > Preferences > Presets
-
Click on the box titled: Show Lightroom Presets Folder
-
Double click on Lightroom
-
Double click on Develop Presets
-
Copy the folder(s) of your presets into the Develop Presets folder
-
Restart Lightroom
Just to reiterate, a paid Creative Cloud subscription is required to the use Lightroom Desktop CC. As I’d mentioned at the top of the article, you are able to sync your photos between the Mobile and Desktop apps, which is extremely handy. If you’ve ever tried to get photos from your phone to your desktop or vice versa, you know how much of a hassle it can be. So having that functionality is great.
And if you’re planning on using programs like Photoshop, InDesign, Premiere Pro or any of the other Adobe programs in the Creative Cloud suite, $12.99 CAD per month is actually quite reasonable.
PRO TIP #2: With the incredible functionality of the cloud sync between Lightroom Mobile CC and Desktop CC, you’ll be able to easily sync both your photos and presets between your phone and computer! So handy. But keep in mind – mobile presets (DNG files) are created to be used on JPEG and mobile photos only! In other words – they will look bad on RAW images, and Desktop presets won’t look amazing on JPEG images as well.
Desktop presets (XMP files) are created to be used on RAW files from DSLRs. They are not easily interchangeable due to the photo file type differing in quality so much. So if you apply a mobile preset to a RAW image, the style of the preset will not apply well – it will typically look extremely over saturated and over edited.
Vice versa with applying desktop presets to a jpeg or mobile phone photo – not the best result. So, long story stort, stick with using mobile presets on mobile, and desktop on RAW!
If you have any questions, don’t hesitate to fill in the form at the bottom of the page or just shoot me a DM on Instagram @erincrookspresets!
How to install presets in Lightroom Desktop Classic
Here’s where the fun begins! For the intermediate to advanced user, Lightroom Desktop Classic provides the horsepower to be able to use presets to their fullest potential. You can completely customize your photo settings to ensure they look exactly the way you want.
To be clear, Lightroom Classic is a bit of a powerhouse program and I generally recommend it for the professional, but a casual user can learn the ropes as well. If you’re looking for complete creative control and you have a clear vision for your style, then Classic is for you!
Here are 8 easy steps to installing preset packs on Lightroom Desktop Classic.
PRO TIP #3: This is the process for installing my desktop presets specifically, and the process could vary depending on whose presets you invest in. I recommend doing your due diligence before purchasing presets.
8 STEPS TO INSTALL PRESETS IN LIGHTROOM DESKTOP CLASSIC
-
Open the email you receive with the presets attached and download your files.
NOTE: DO NOT HIT OPEN! YOU NEED TO SAVE YOUR PRESETS FIRST -
Once download is complete, click SAVE and choose a location on your computer to save your files
-
Unzip the folder and extract your XMP preset files
-
Open Adobe Lightroom Desktop Classic or Creative Cloud
-
Click the “+” on the top right corner of your preset module
-
Open the drop down menu and click “Import Presets”
-
Find your unzipped folder and import preset into your program
Once you’ve done all of this, you can select your previously imported image collection, or import a new collecton and start to edit. Simply select the best preset for your photos, click to apply to a single image or batch edit a large amount of images. Then make any additional adjustments to the exposure or temperature to suit your style preference.
PRO TIP #4: I recommend backing up your preset files on an external hard drive as download links will expire after 24 hours from purchase.
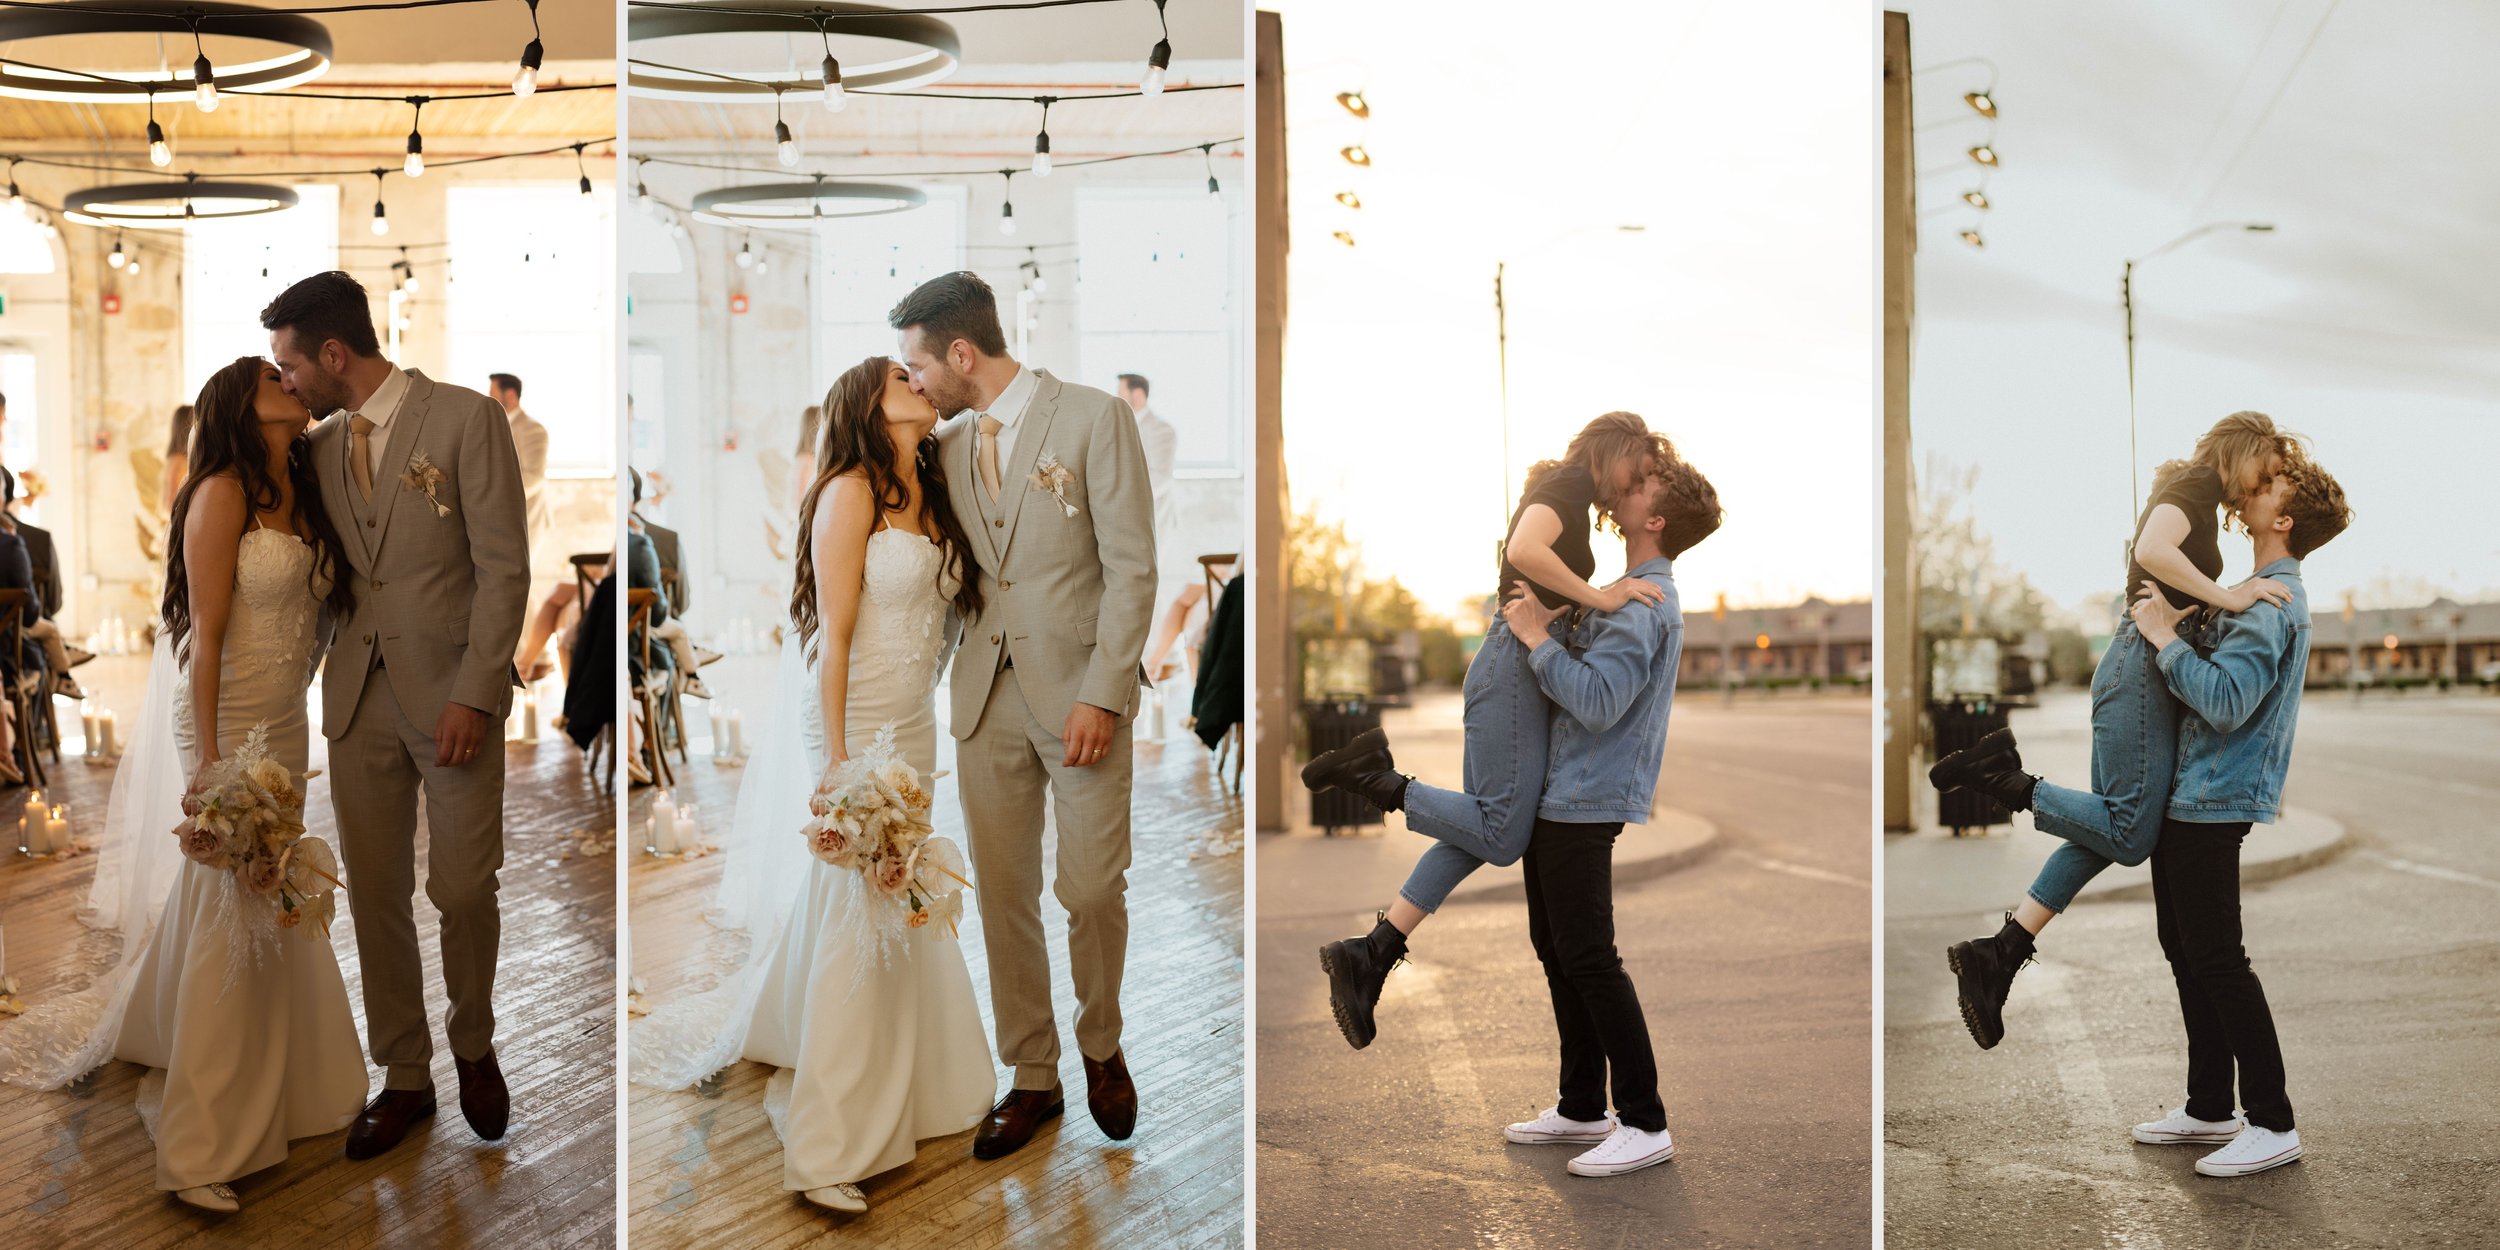
OKAY! Now we’ve established what Lightroom is, which version is right for you, what presets are AND how to install them, now we can get to the practical stuff. Let’s dive into how to use them to take your photos from “meh” to swoon worthy! Here’s a few easy tips to start off with!

How do I apply Lightroom presets?
To start with the most simple steps to applying Lightroom Presets – read below! In future blogs I will share more in-depth steps to an efficient creative workflow including culling (sorting out and flagging or rating your best images), adjusting an applied presets lighting and temperature, how to color tone an perfect skin tones, cropping and composition, tools to fix blemishes/spot removal, my favourite hot key short cuts, as well as getting creative and more!
1. SELECT YOUR IMAGE:
On the left hand side of lightroom in the Develop tab, select the folder or Collection within Lightroom that you want to edit. Click on the raw image you want to start with.
2. SELECT YOUR PRESETS:
On the Presets panel on the left hand menu bar, find your presets collection. You can hover over a preset to see it applied before you select the preset. Find the preset you want to work with and click to apply to the image.
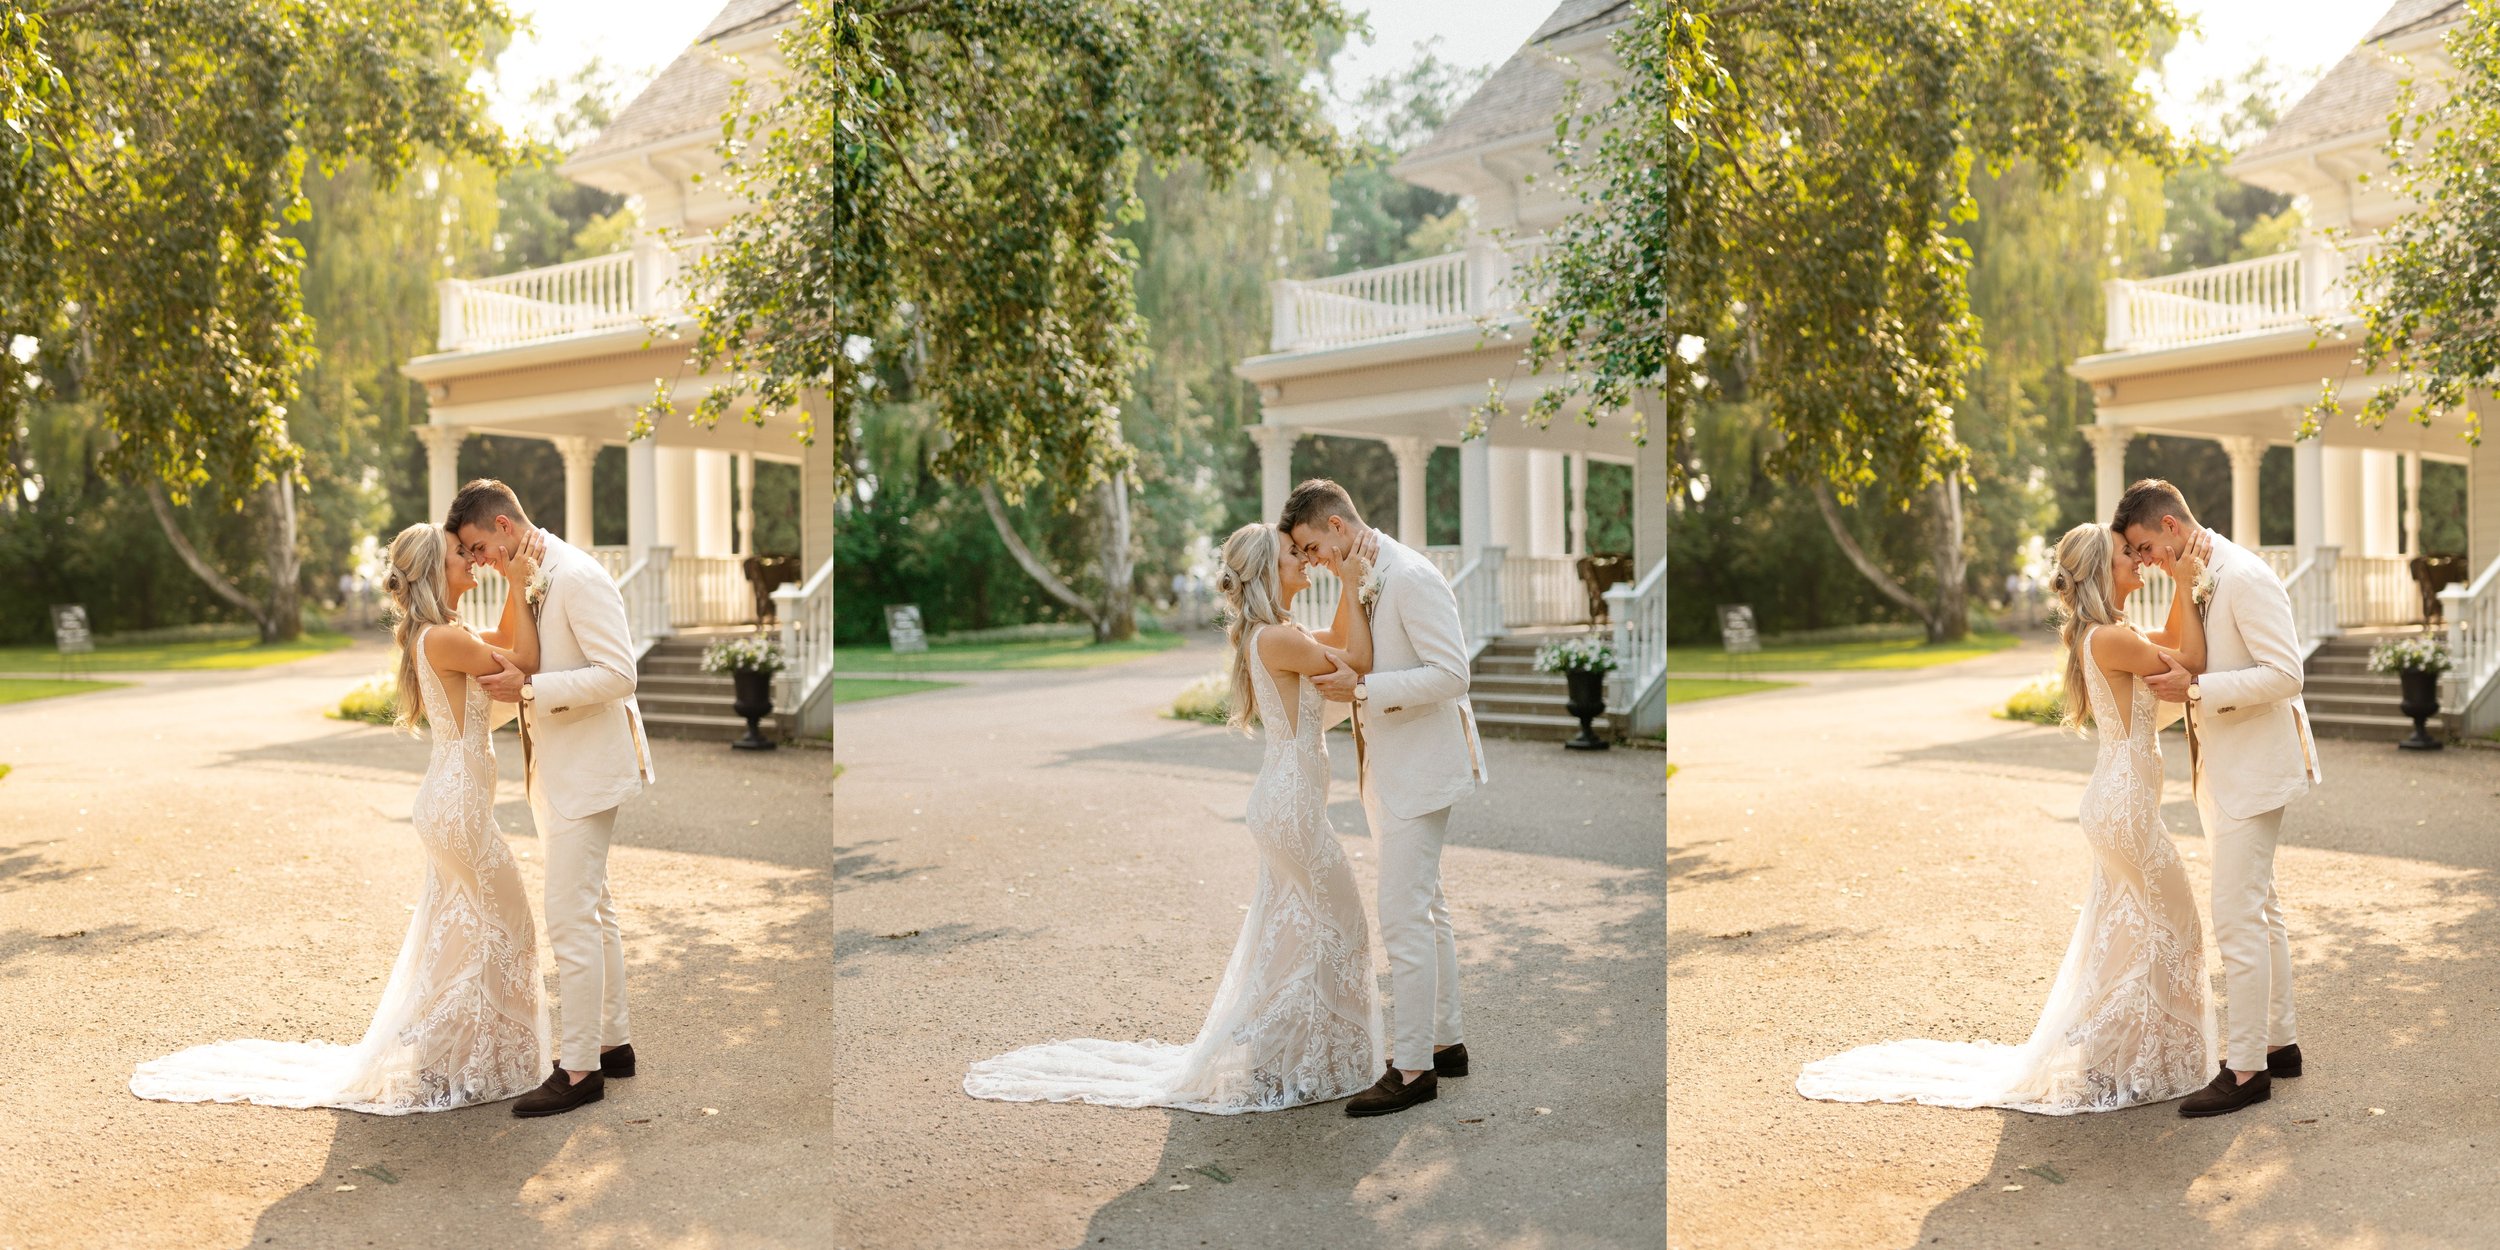
3. ADJUST YOUR PRESET:
As any preset will rarely be a perfect one-click edit – you’ll want to make minor adjustments to the exposure slider to perfect the look. Sometimes depending on your photos lighting, colors, or subject matter, you’ll need to play around a bit more with sliders like the temperature/white balance, highlights and shadows, saturation, or the contrast. Make minor adjustments until you’ve achieved an edit you love!
Finding your personal editing style takes some time and practice – but I promise that presets will speed up the process, AND teach you the best functionality of Lightroom and image editing while at it!
4. BATCH EDIT + EXPORT:
Next, if you have other images flagged or rated for editing that have similar lighting/colors, you can easily highlight all the desired images, and click Sync to apply the exact edit to those images as well! Saving you so much time on your workflow! Once done, you can export a single photo or a whole batch by highlighting all images and saving.
Thanks for reading! I hope you learnt a tip or two (or three!). Save this post for referring to in the future, and follow along for my next Lightroom and Editing tips and lessons!
")


